I recently built my first custom mechanical keyboard, a 65% with an acrylic case and underglow. I've owned a few prebuilt keyboards before, but the one I wanted in particular didn't really seem to exist as a prebuild (though now that might not be the case). Besides, I always wanted to see if I could actually do it, and thought it'd be fun. I'll go over the general process I followed to do the build, but for a more comprehensive tutorial I recommend you watch some videos on YouTube.
I knew I wanted to solder it, which meant that I would also need to lube the switches and stabs (stabilizers) beforehand. Once they are soldered in, you are very limited in your options for lubing. It pretty much means you need to spend a bit more upfront. For me, that was non-negotiable because I absolutely wanted my switches and stabilizers to be lubed.
The reason people lube their switches and stabilizers is to improve the sound they make, reduce scratchiness and tactile bump. Also, for some it's just fun and relaxing to do. :)
Materials #
Let's talk materials. I got most of my things from KBDfans. Shipping comes from China and is quick. My orders so far have been shipped with FedEx, which was nice. If you are located in the UK, however, the cost is £19, and that doesn't even include route shipping protection, customs, or related fees. This alone is one of the reasons I really can't buy from KBDfans anymore, though I still recommend buying from them if none of that applies to you. Anyway, here's what I ordered:
- TOFU65 Acrylic Case
- 65% Polycarbonate Plate
- KBD67 rev2 65% Custom mechanical keyboard PCB - TYPE-C v2 (with underglow)
- KBD67V2 Case Foam * not necessary, but helps with the sound
- Durock screw-in stabilizers
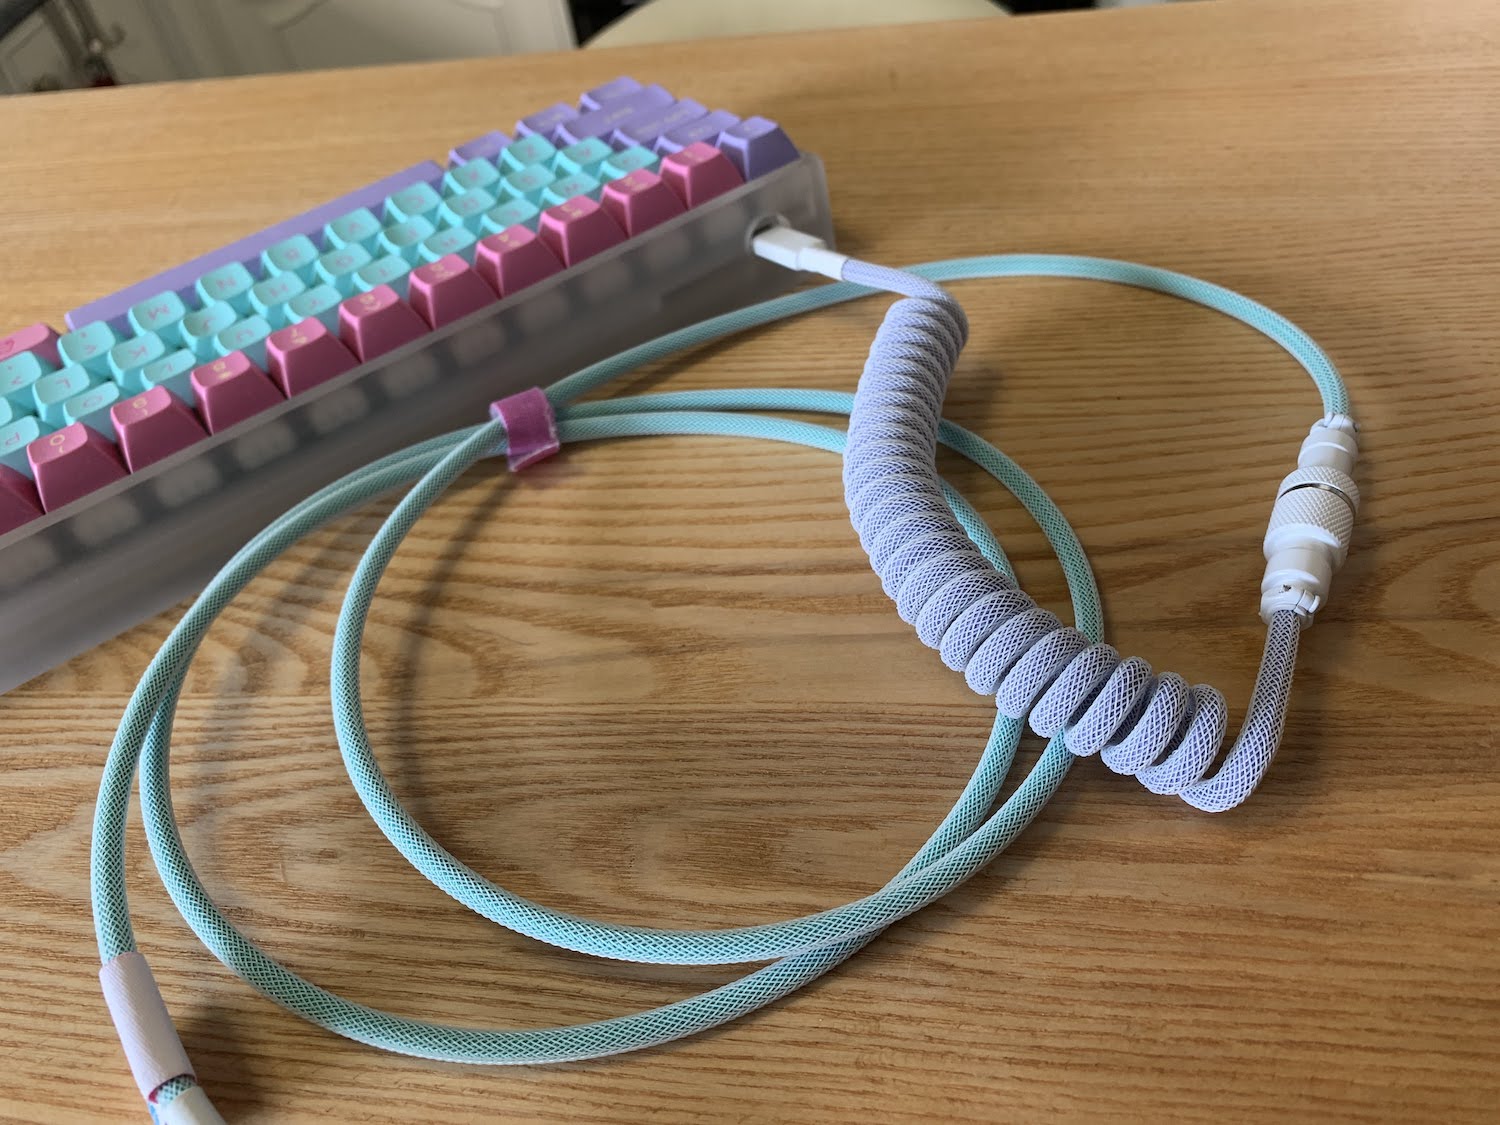
I also needed some keycaps, switches, and a cable to connect it to my laptop:
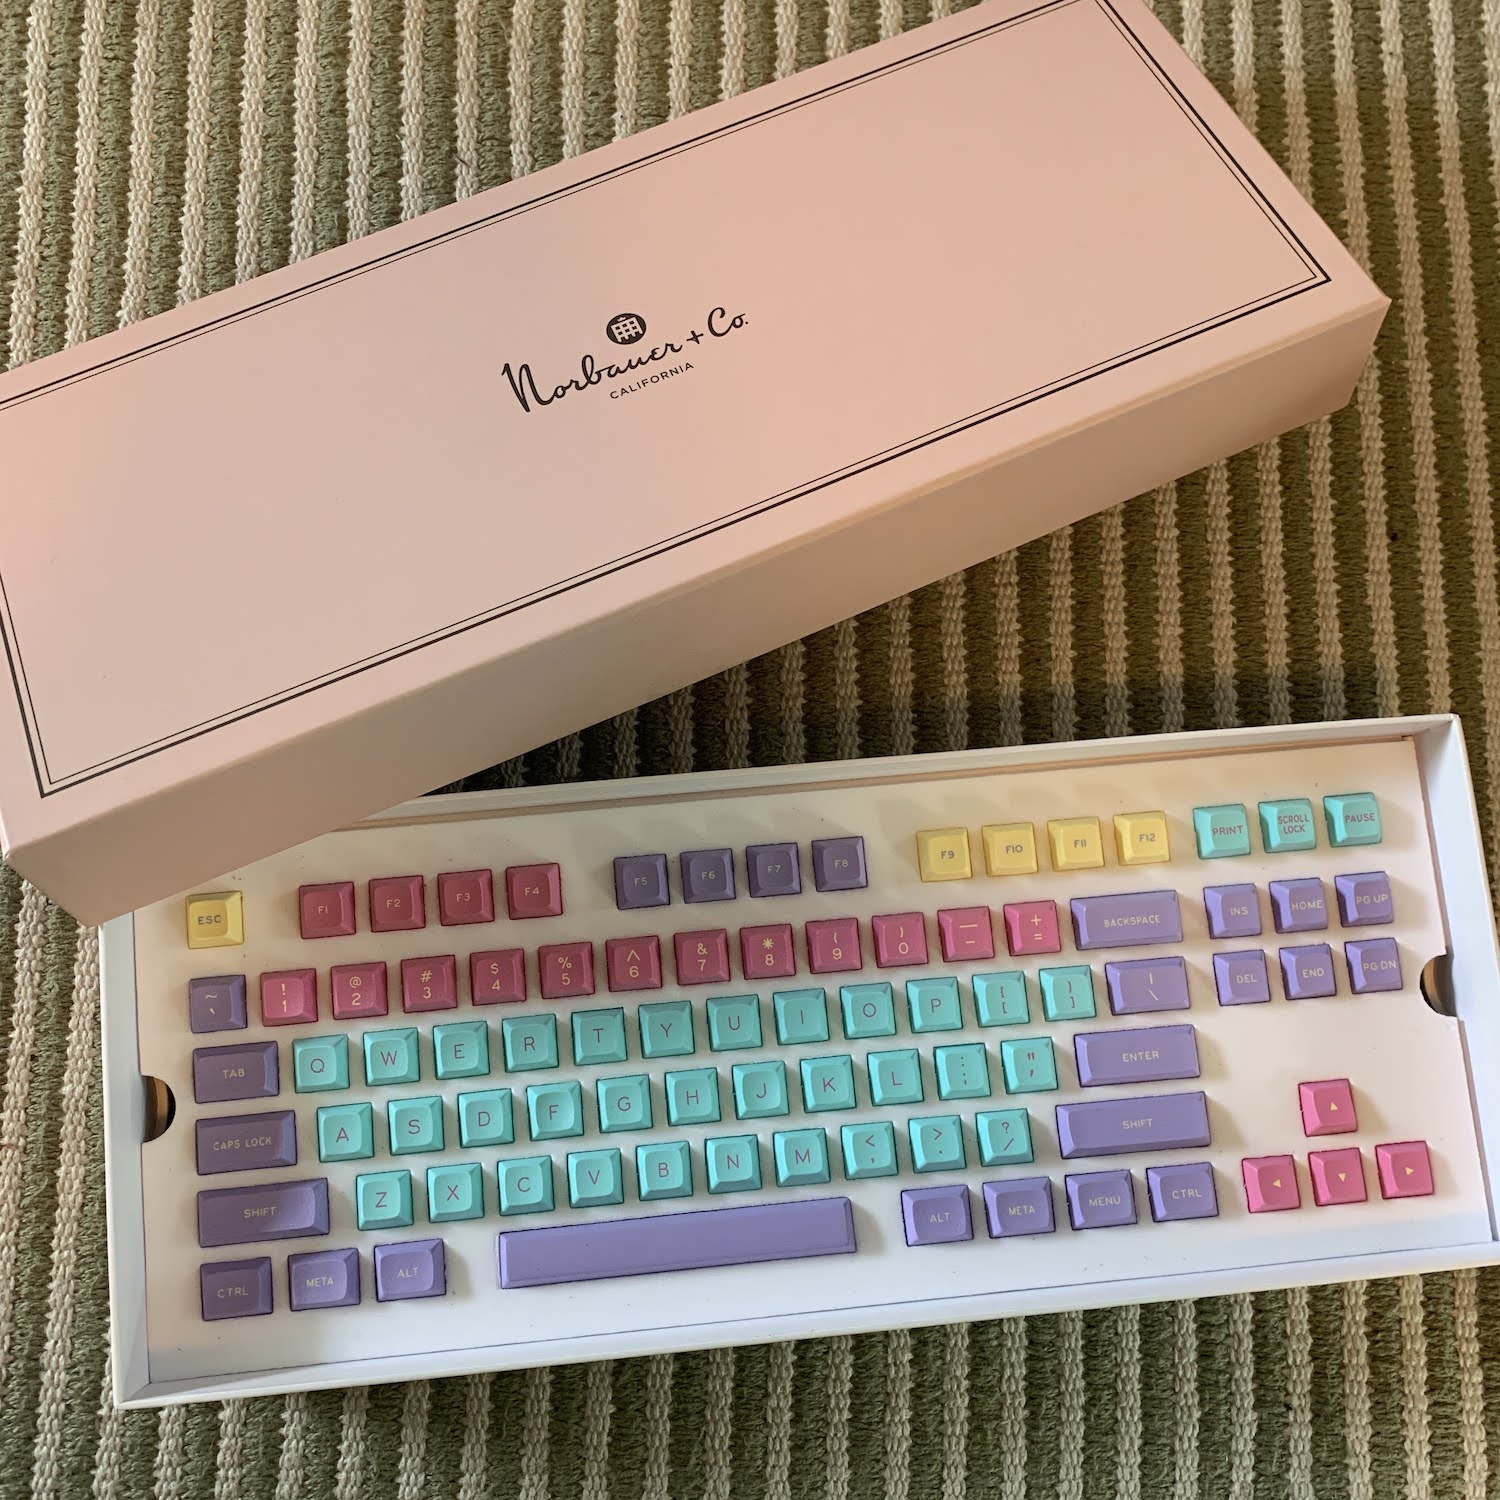
- Keycaps: Norbauer After-school 1992
- Switches: NovelKey Creams
- USB type C cable
For lubing the switches and stabs (stabilizers):
- Krytox GPL 205 Grade 0
- Switches lube station
- Switch stem holder
- A small, narrow brush like this one
- KBDfans aluminum switch opener
You don't really need the lubing station, stem holder, or switch opener if you're on a budget. Technically, you don't need to lube your switches at all. If you did want to lube them at some point, though, if you are soldering, you will (generally) need to do it before you solder.
For soldering the switches, I got the following:
- Hakko FX-888D soldering station
- Solder wire (0.8mm, 100g, rosin core)
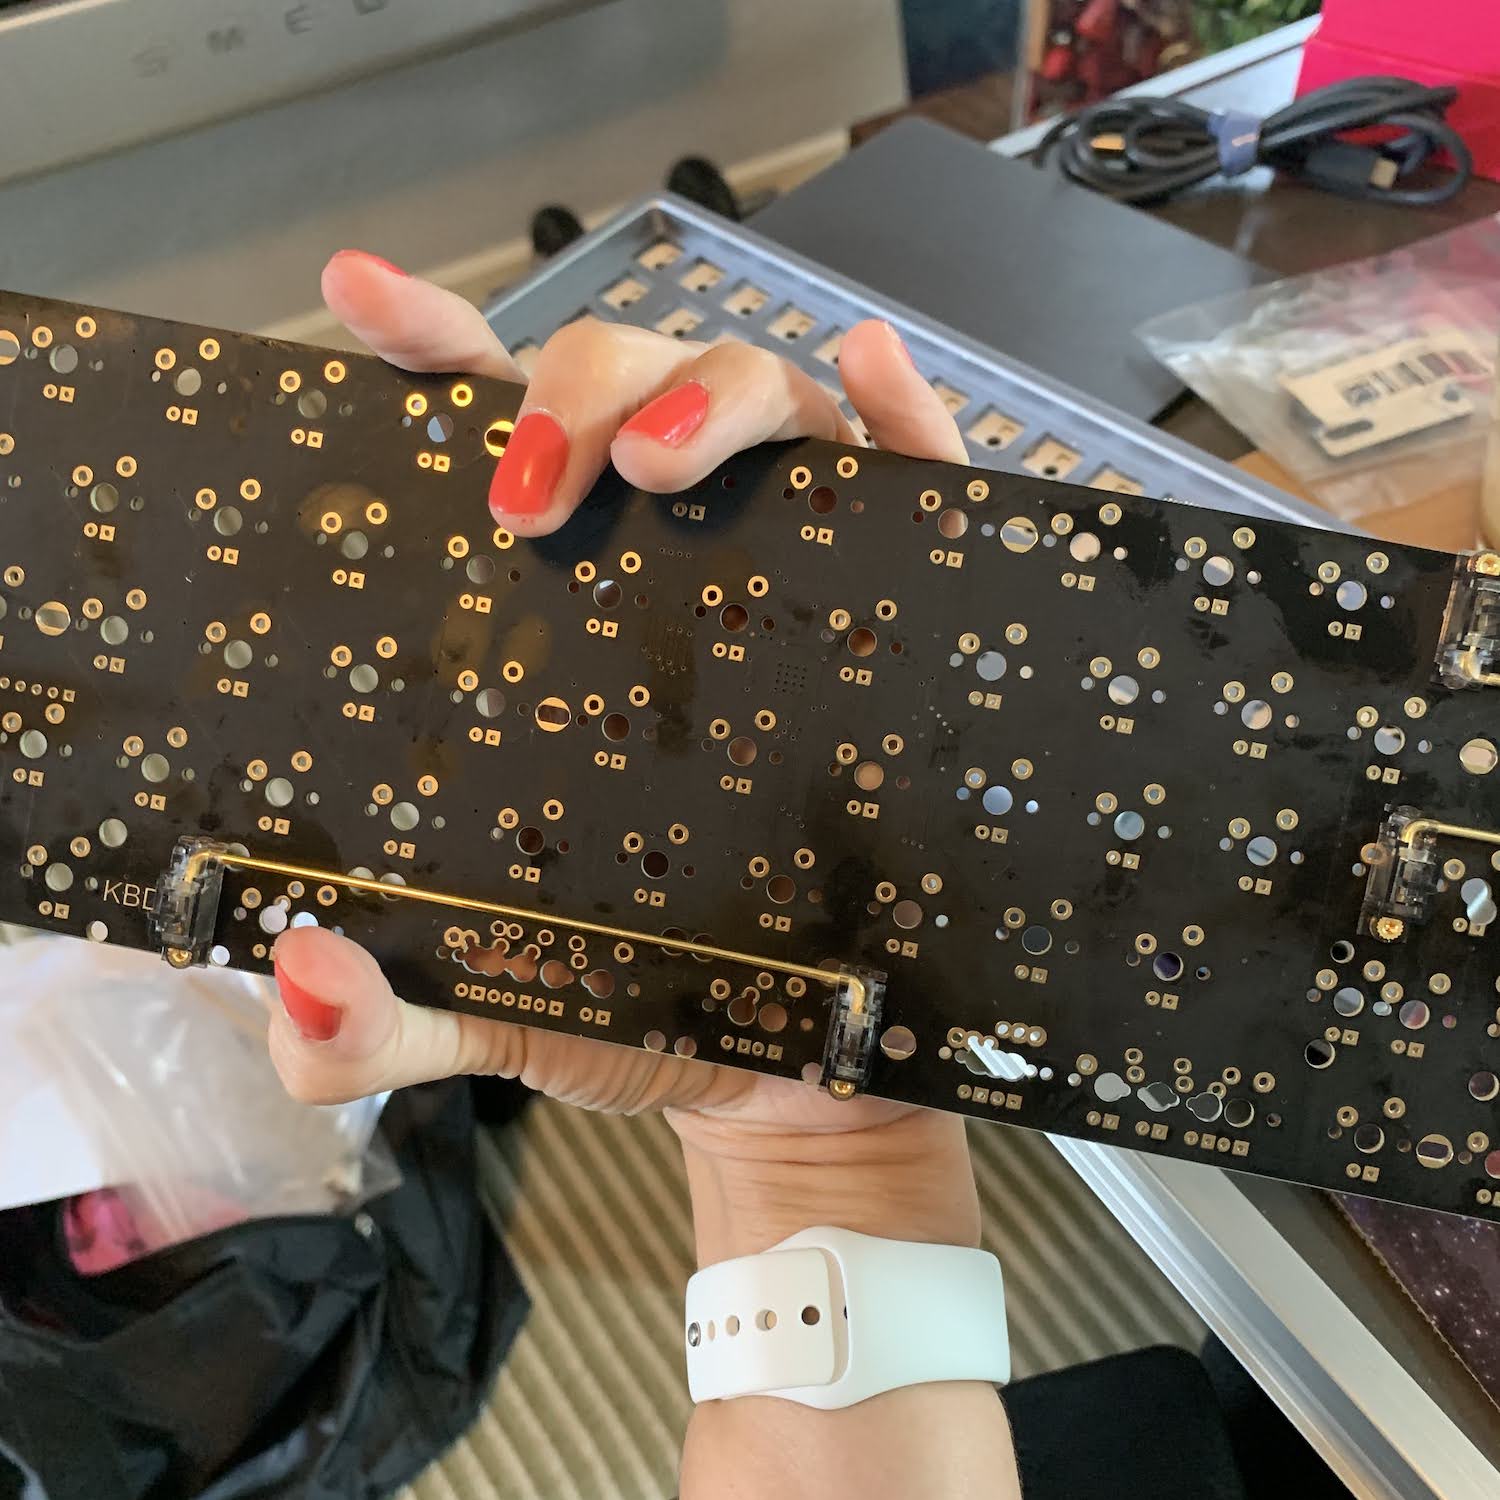
Testing PCB #
So, before you start, you want to make sure that your PCB actually works. That way, if you do mess it up, you'll definitely know it was you. :)
Just plug it into your computer and grab some eyebrow tweezers with metal tips. Next, go to a Keyboard Tester (here are a few). Touch the two metal ends of the tweezers onto each of the switch pads on the PCB, and it should register that key in the app. Do this for every single key. In my case, I also wanted to see that the underglow just worked when I plugged it into my laptop.

When you're done, just set it aside.
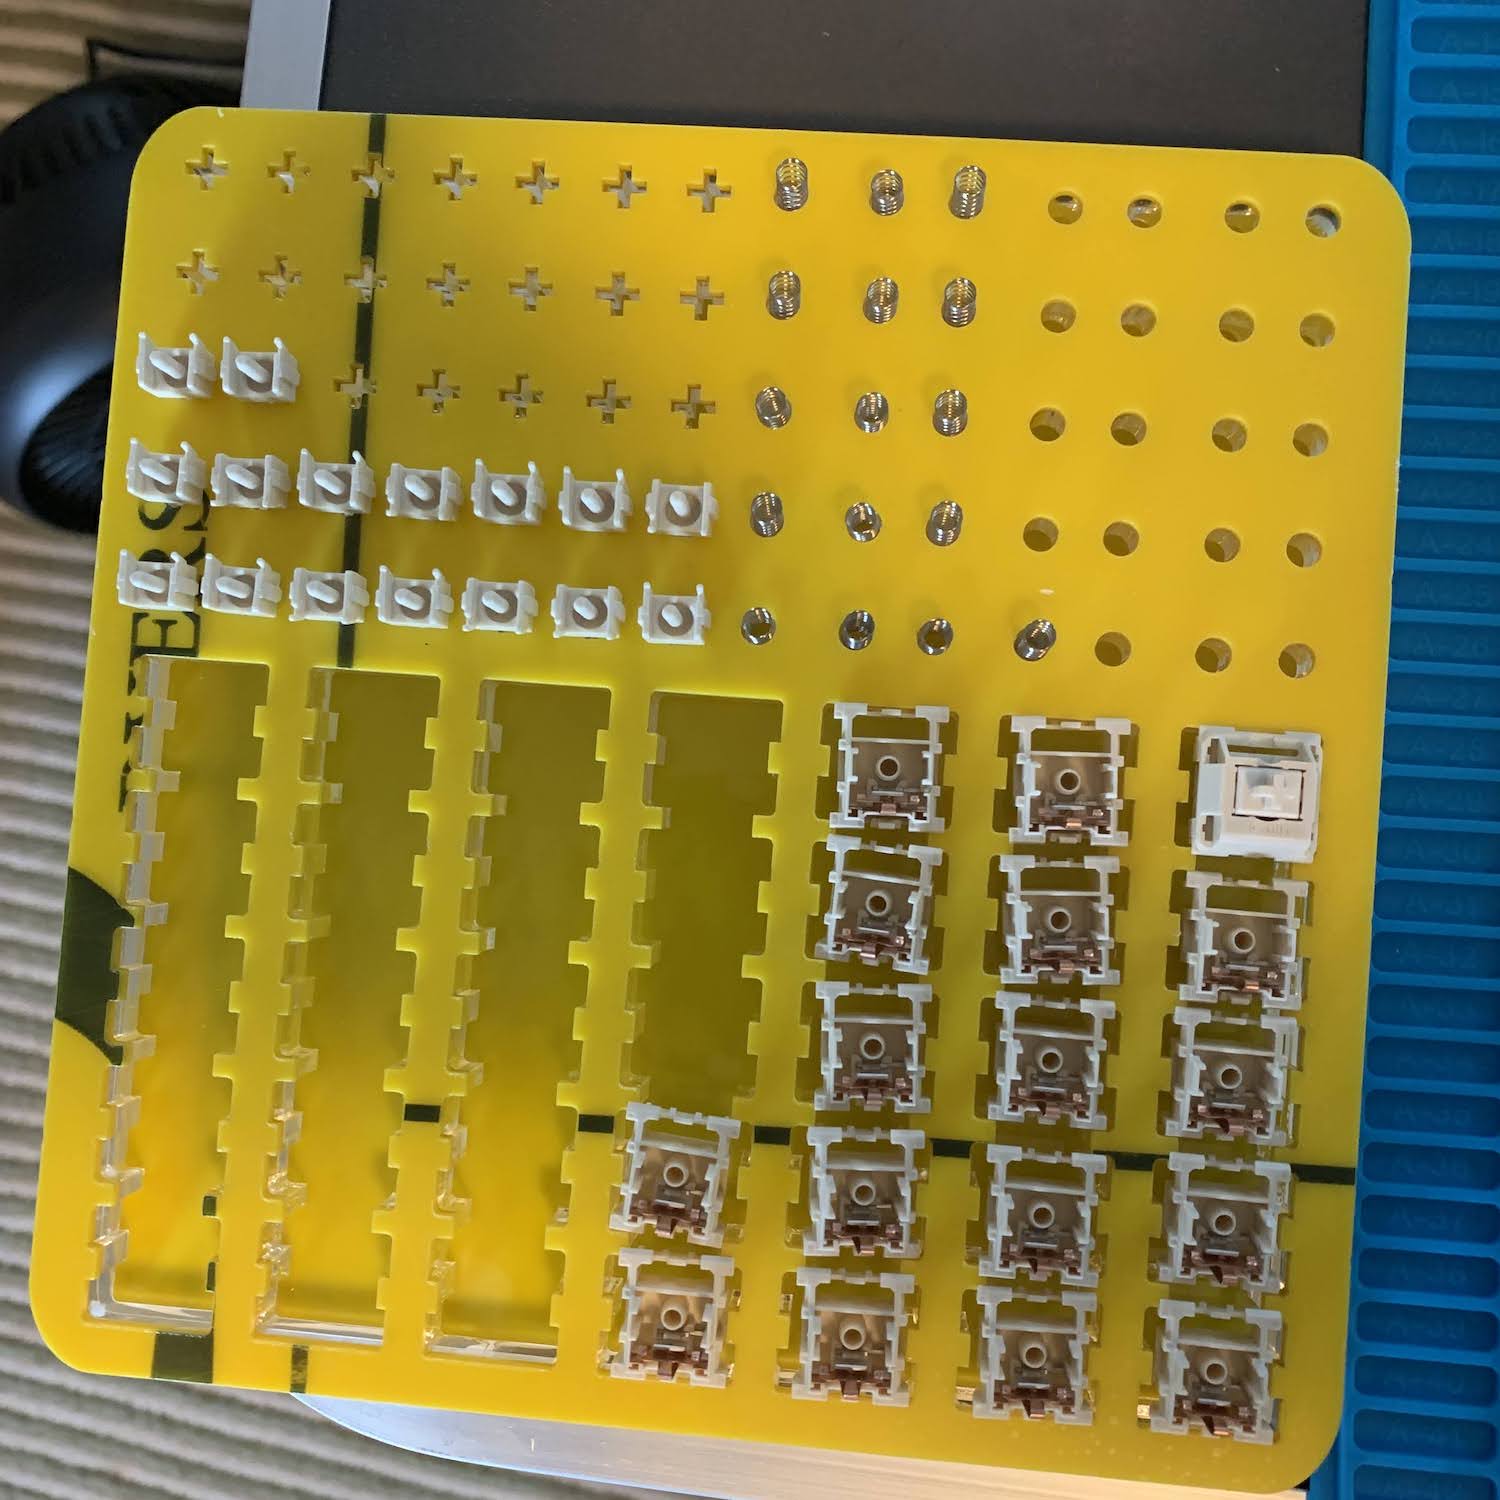
Lubing Switches & Stabilizers #
This step is entirely optional, but I highly recommend taking the time to do it, especially if you are soldering. Once you've soldered in your switches, you have limited options for lubing them down the road.
I used a lubing station I bought from KBDfans, but this is completely unnecessary. You can simply open the switches and separate the parts into piles as you go lubing and reassembling them.
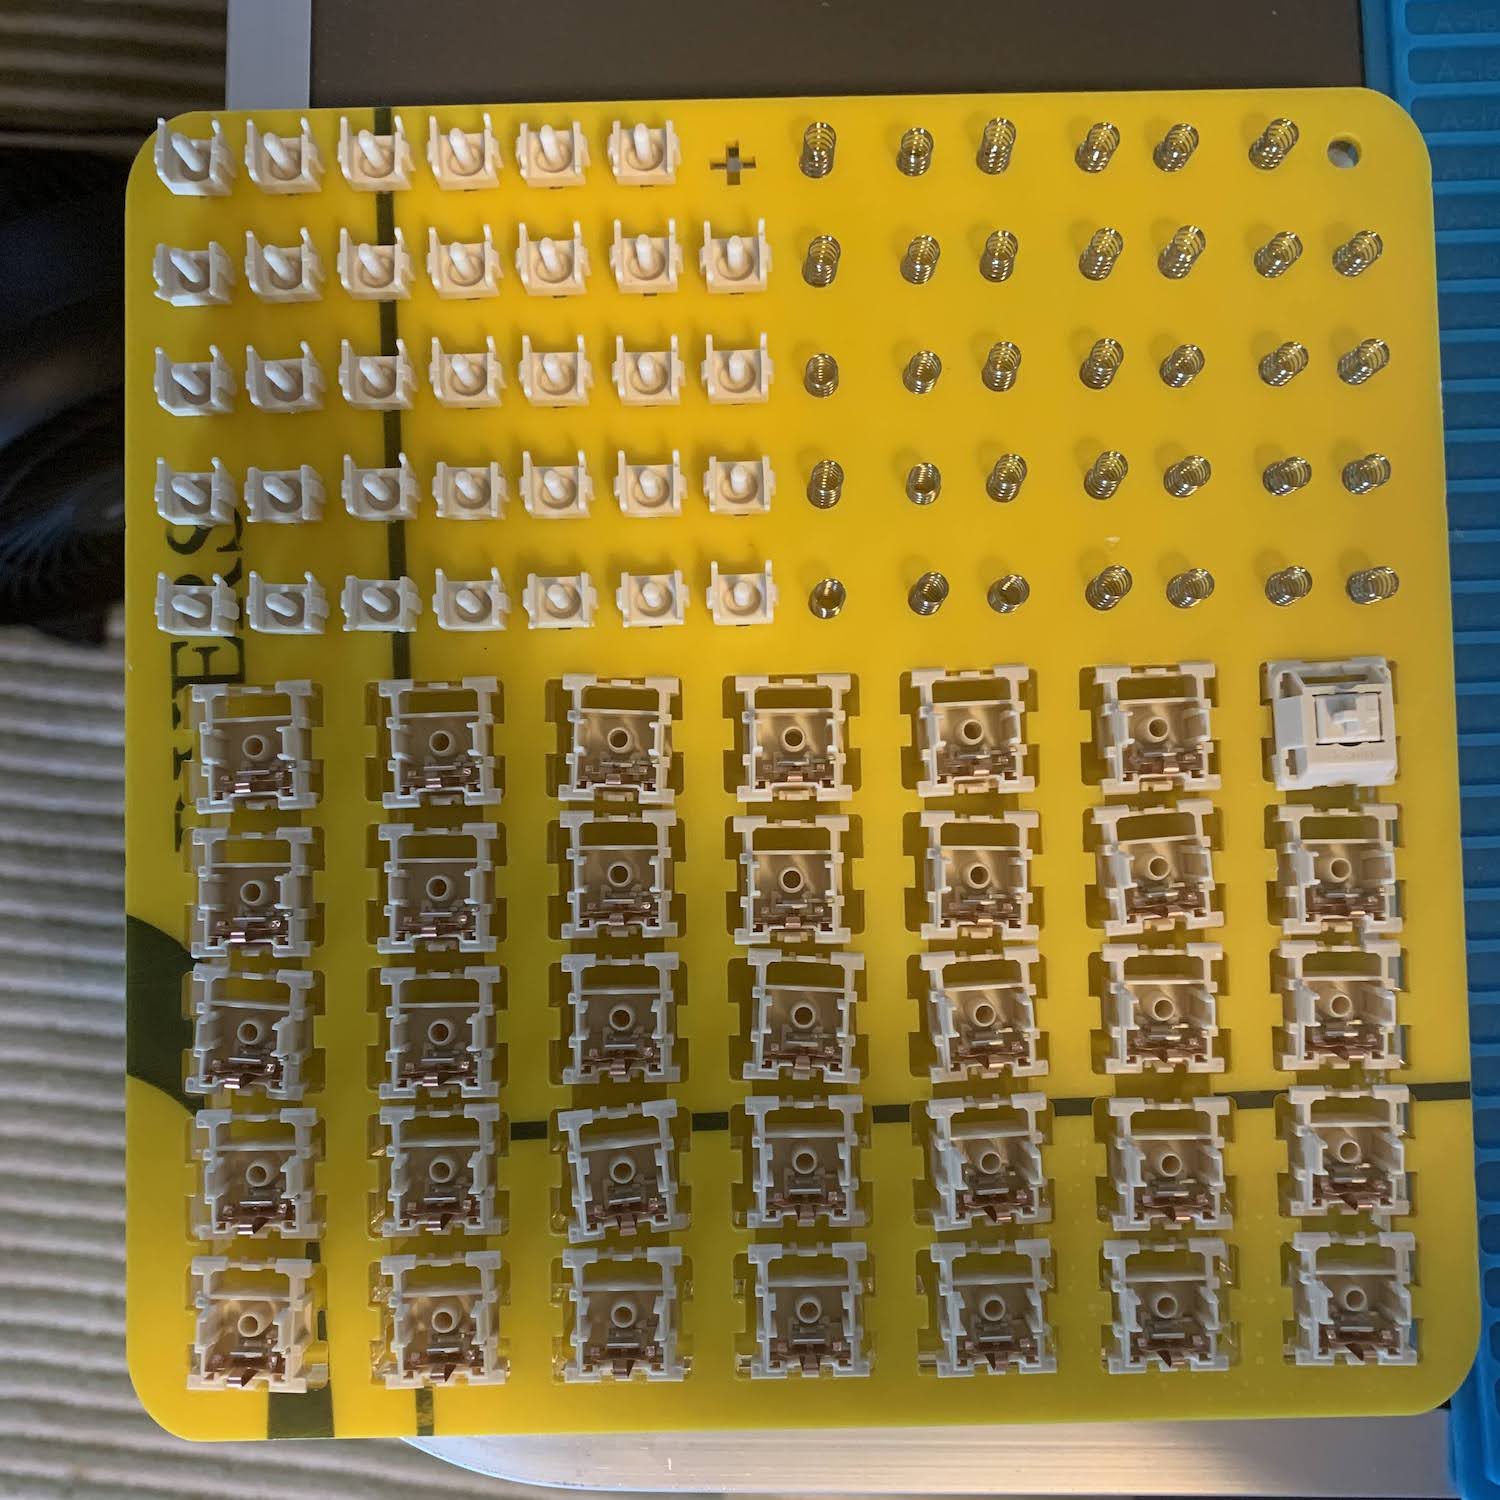
All in all, this took about four hours, lots of patience, and many beers. Switch and Click have an excellent guide to lubing your switches, which I highly recommend you read. The important thing to remember when lubing your switches is that LESS IS MORE.
Personally, I like to lube the springs as well, but doing that manually would take a century. I put a tiny amount in a ziplock bag, smear it around, and blow hot air into it, so it becomes like a little balloon. I then throw all of the springs into the bag, seal it, and shake it about for maybe ten seconds. The idea is just to lube them slightly. For the stabilizers, I take quite the opposite approach and dip the ends completely into the Krytox before assembling them.
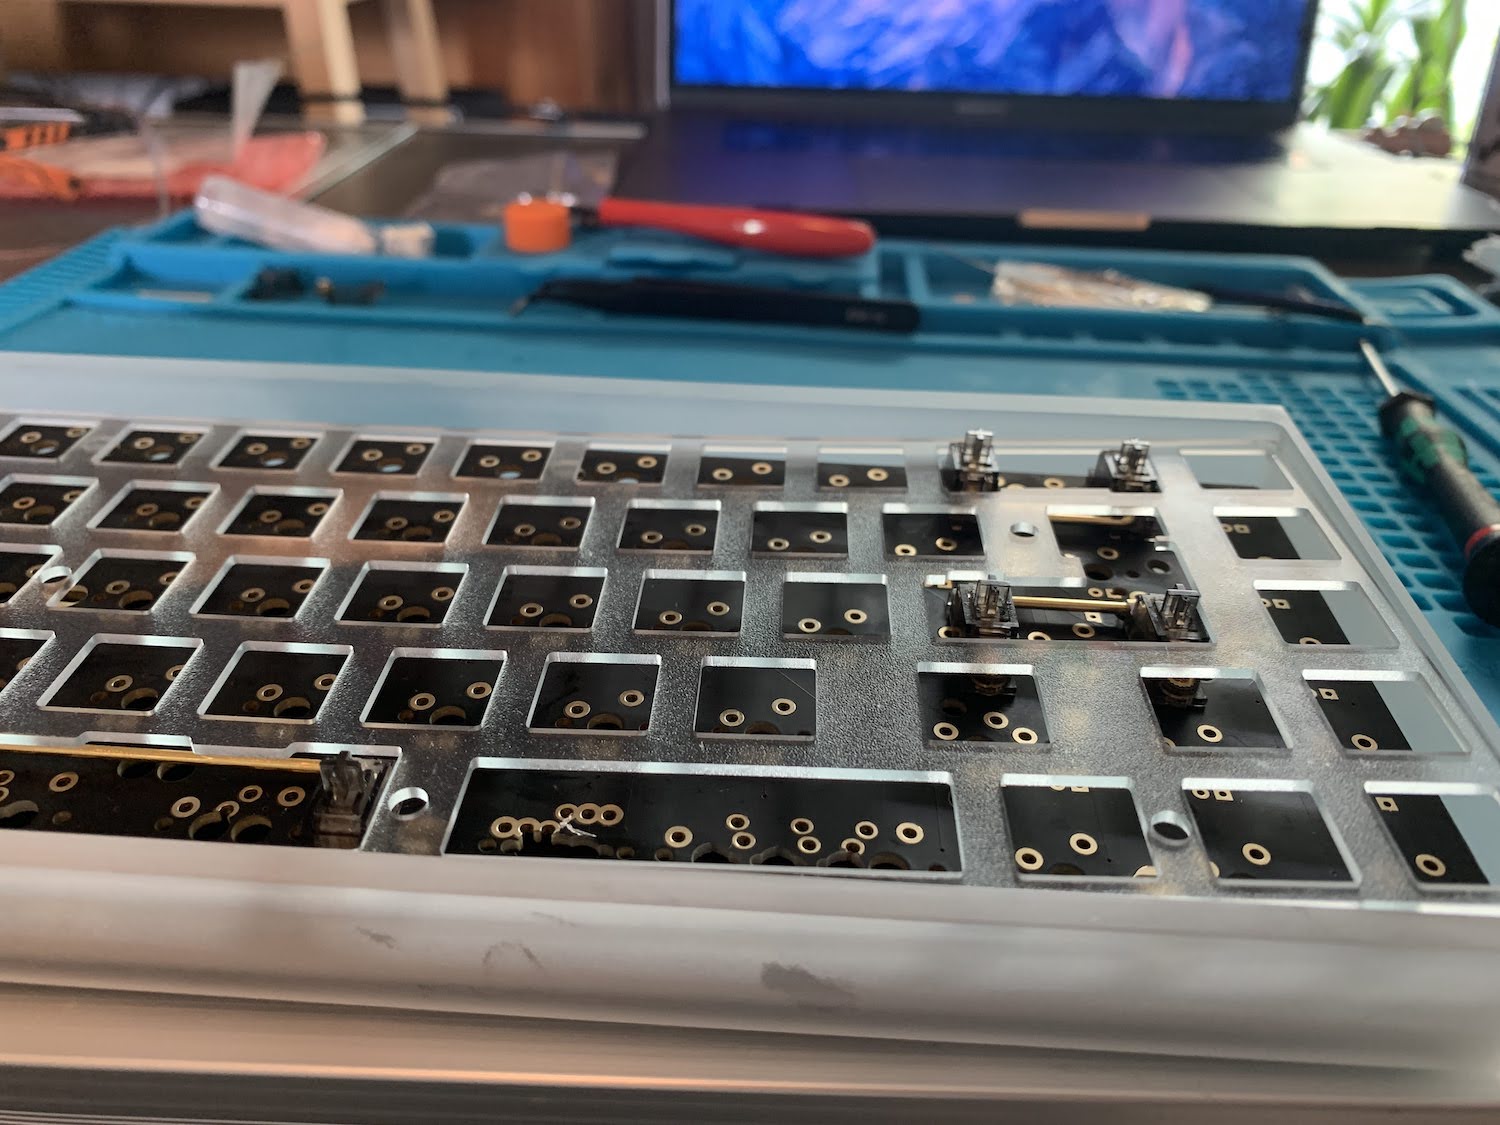
Installing the Stabilizers #
Once you've finished lubing everything, the next step is to install stabilizers. The process for this is going to vary depending on what kind of stabilizer you have (e.g. plate-mounted), but generally takes about five to ten minutes to do. I recommend watching a YouTube video for installing the specific type of stabilizer you have. Cherry are the most common, and from those there are three types: plate-mounted, PCB-mounted screw-in, PCB-mounted snap-on. Mine are Durock PCB-mounted screw-in, which you just screw onto the PCB.
Installing the Switches #
Next, you install switches onto the plate and get it into the PCB. Be mindful of whether you are doing an ANSI or ISO layout (big, L-shaped Enter key). To help with this, you can attach the keycap to the switches as you go along, which also helps with knowing where there might be any potential collisions between keycaps.
Soldering #
For the soldering, I used a Hakko FX-888D soldering station, which I found to be quite nice to work with. I'm a bit on the cautious side so I used a heat-resistant soldering mat as well.
It's also a good idea to wear a mask and keep the room well-ventilated so that you don't inhale the fumes produced while soldering. You can solder outside as well if you don't have a fan to help with this. Basically, don't follow the setup I had. :)
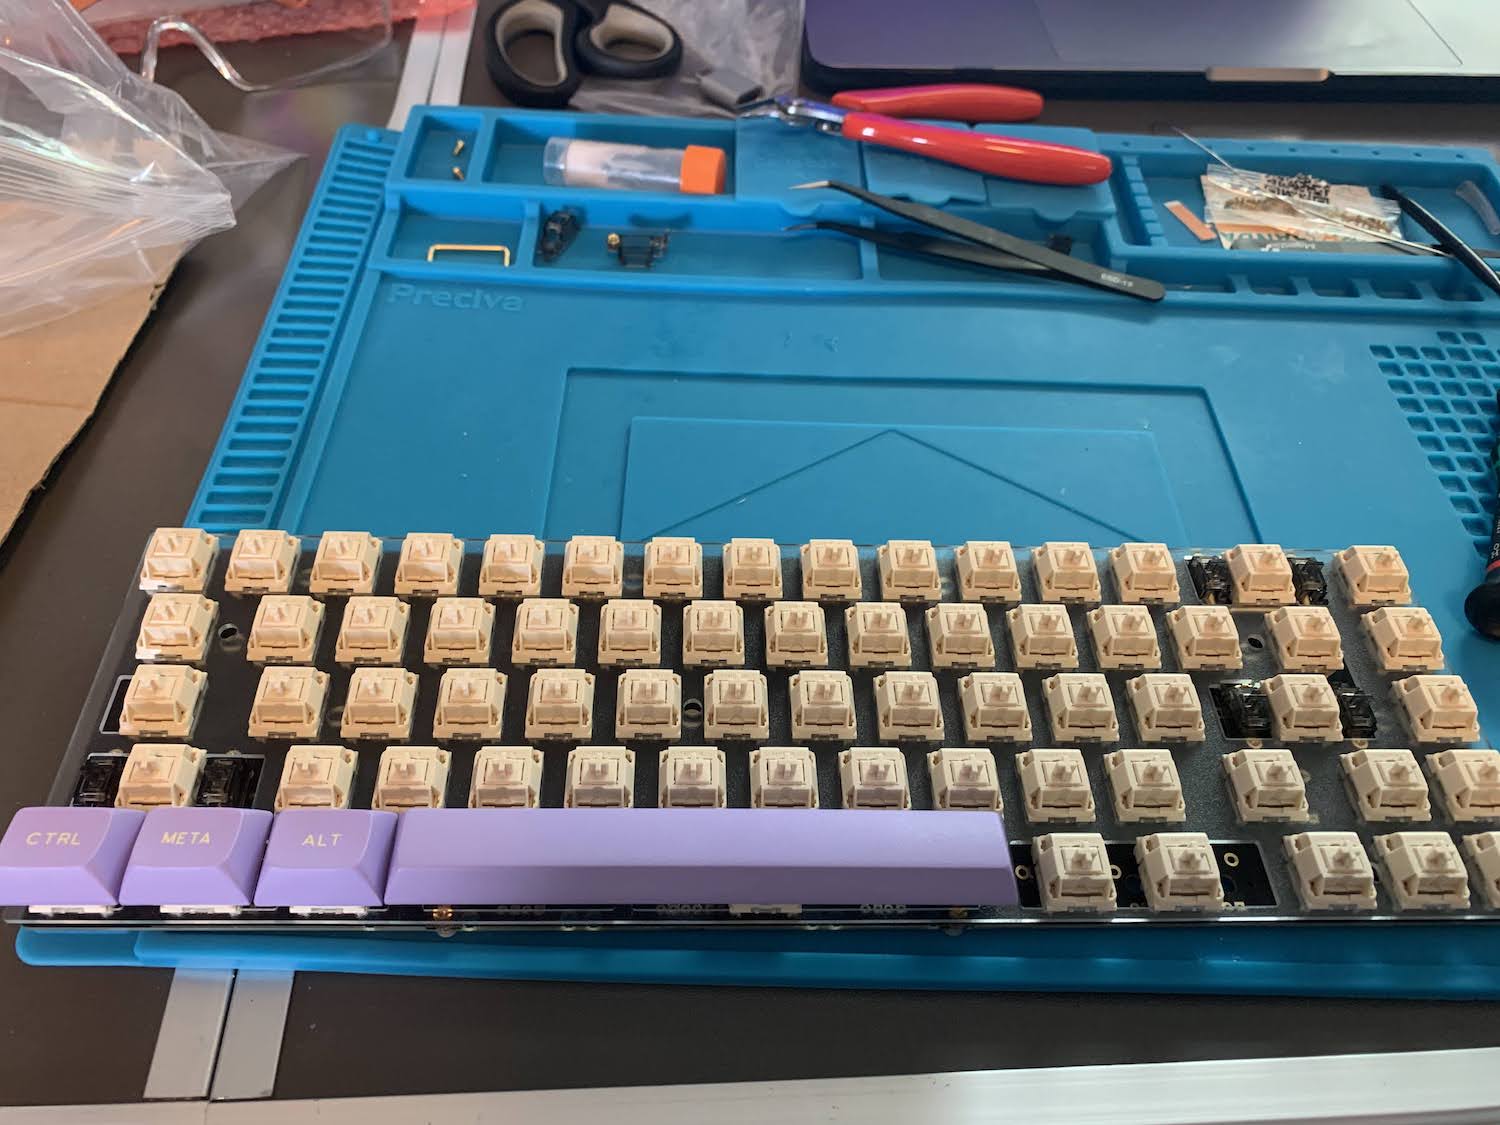
Assembly #
Once I was done soldering, it was time to assemble the rest of the keyboard. I added the foam to the bottom of the case, and placed the now-soldered PCB + plate + keycaps unit inside of it.
I was so excited to use my new Norbauer keycaps, which arrived in a beautiful box and some 90s-themed accessories.
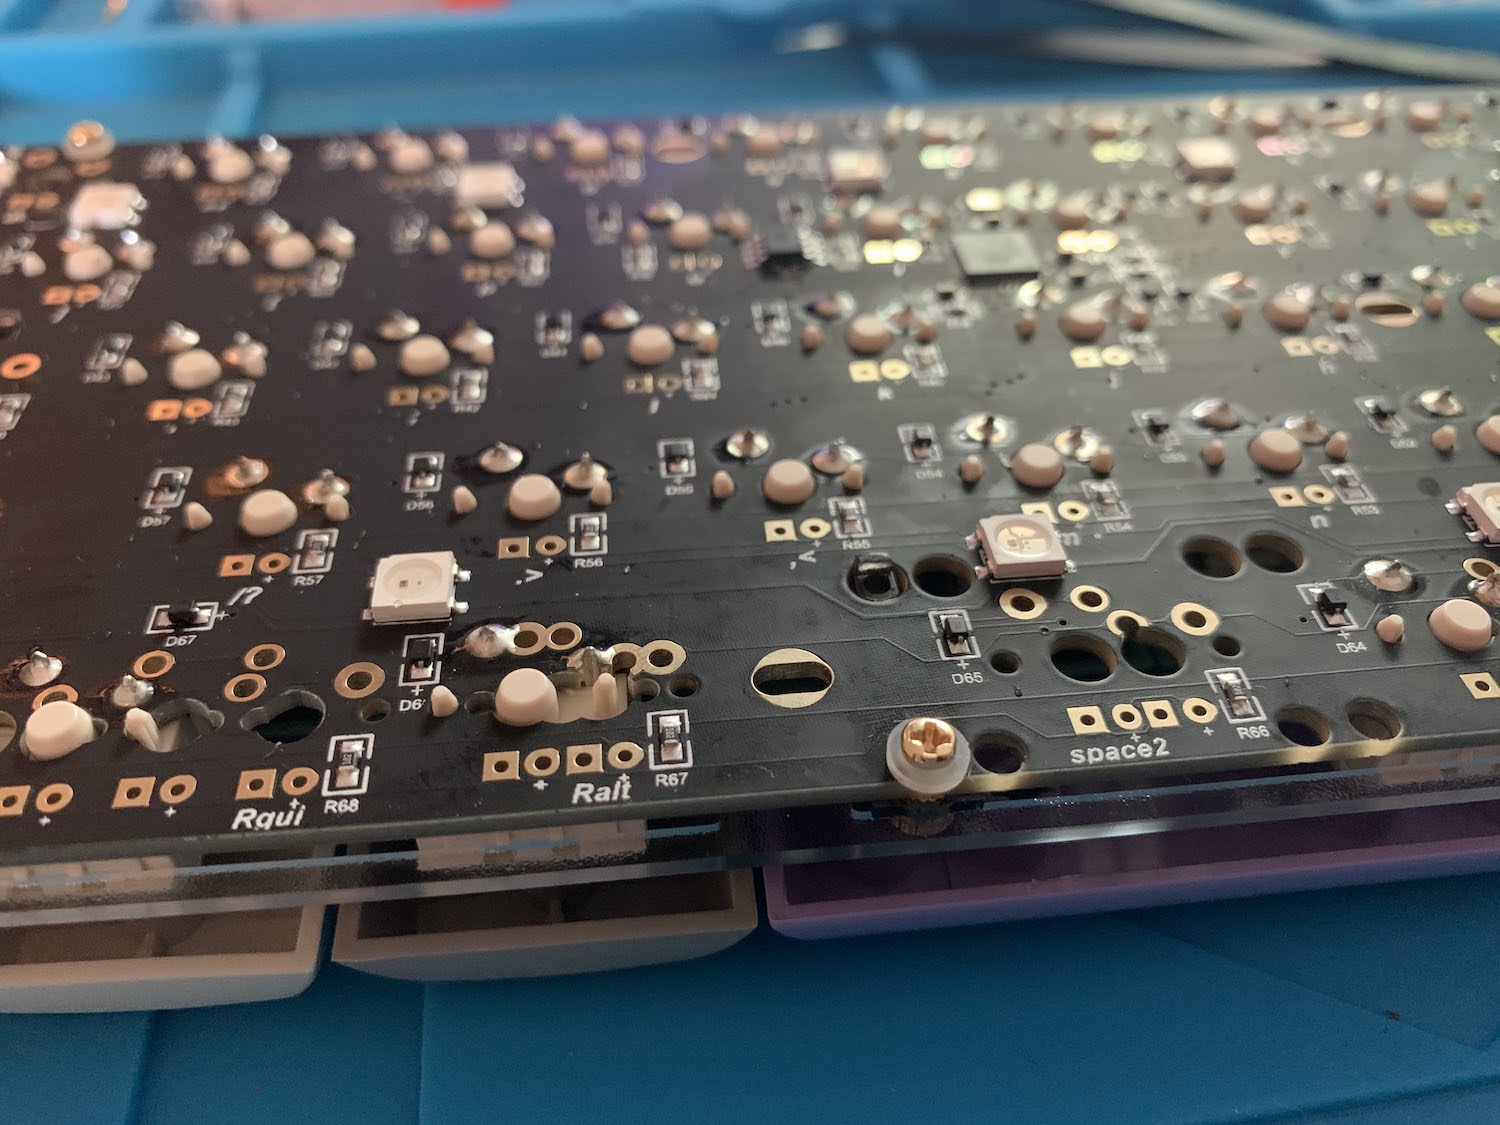
I thought I was done, and then I tested the keys.. which seemed to work just as before. It wasn't until I gave it a good few minutes of testing the keys that I realized a few of them were kind of sticking. I had no choice but to do the unthinkable.. I had to desolder a few of the switches. 😭
And Desoldering.. #
Desoldering didn't prove to be as stressful as I expected, but I only had to do a few of them. Anyway, I bought an Engineer SS-02 Solder Sucker Pump (highly recommend) and some flux paste, just in case.
The first one was the most difficult, since I think I was making it a bit more difficult than I needed to. For example, I don't think I was pushing the switch hard enough at the same time as the solder was still wet, and was focusing too much on sucking up the solder.
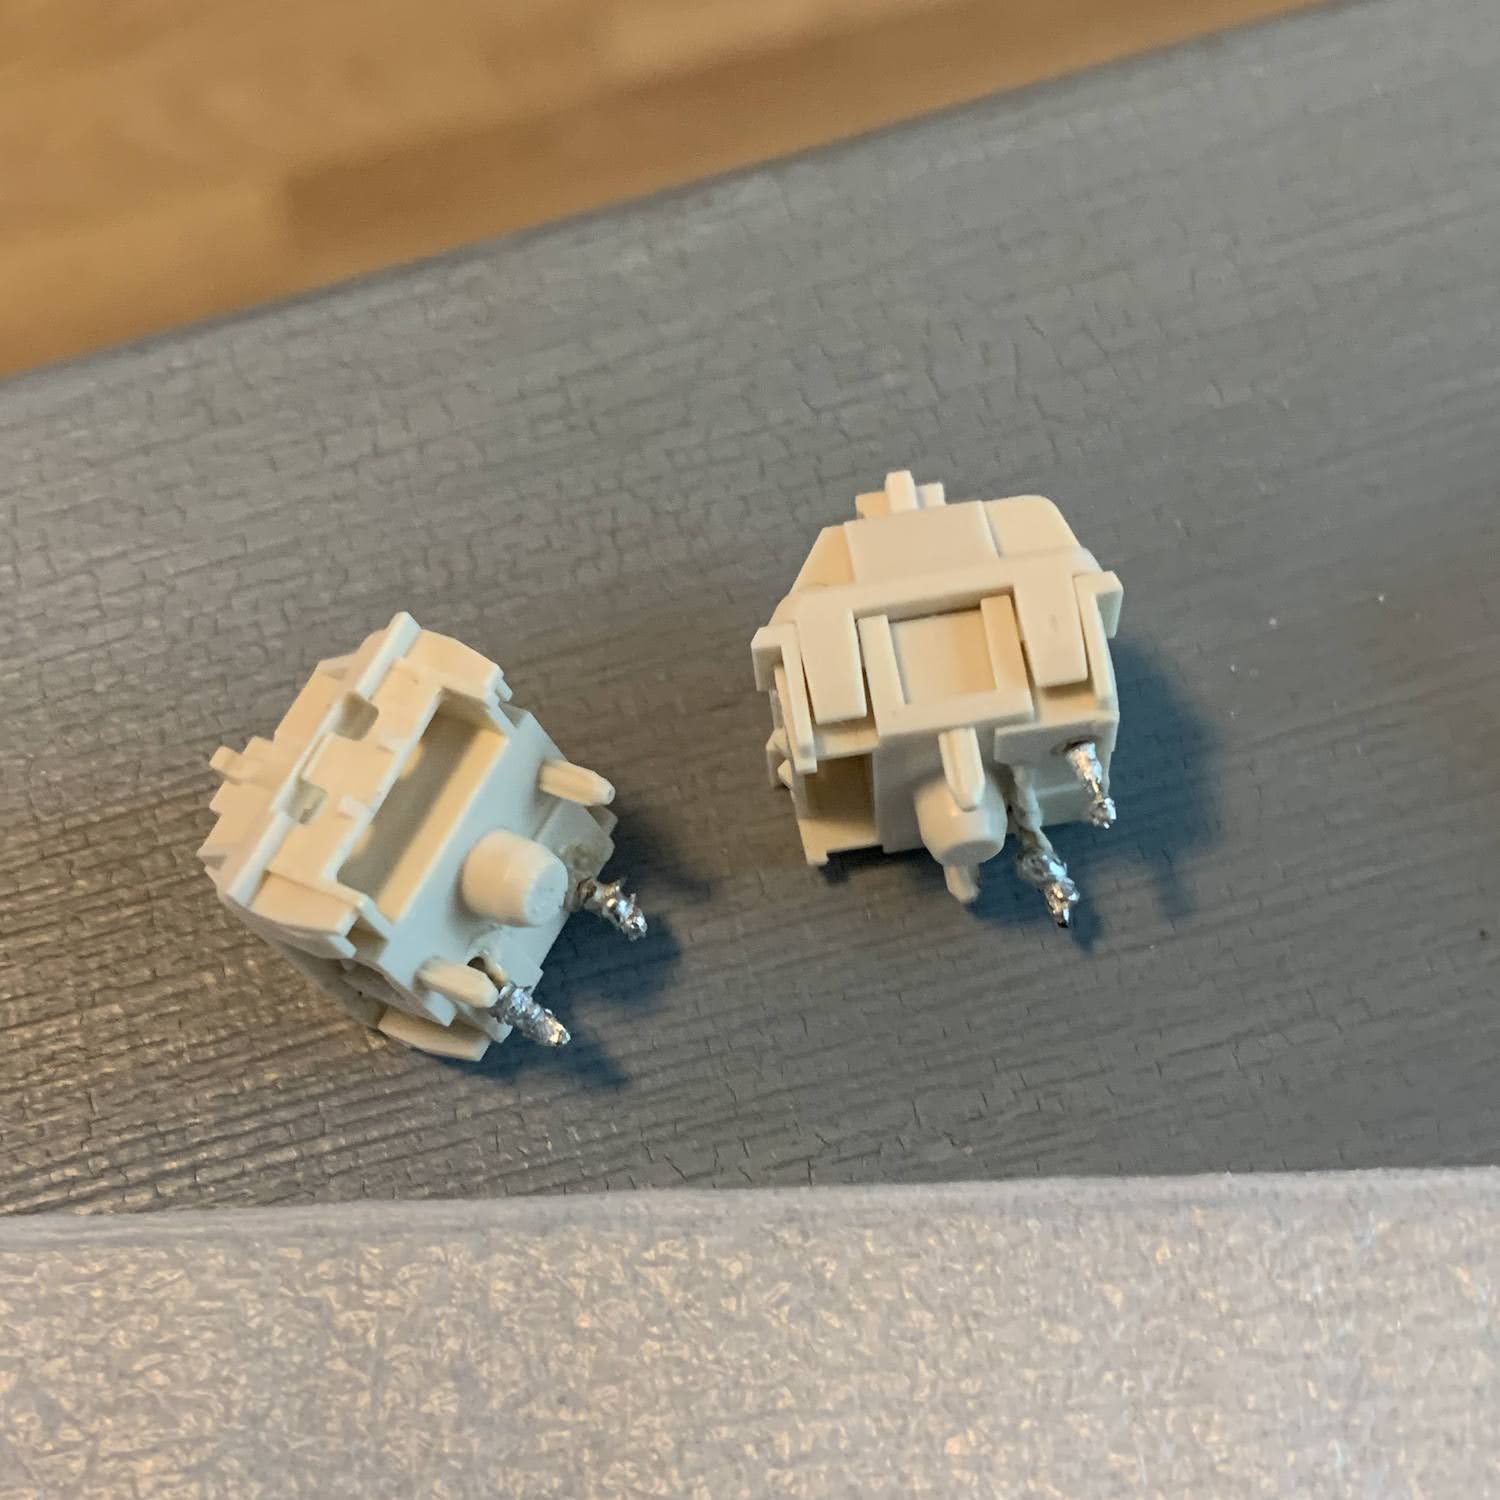
I lost a couple of my NovelKey Creams in the process, though, to be honest, it could have been much worse. 🙂
I also had some trouble when it came to assembling everything in the end. I had some interference between the keycaps and the acrylic case, which was driving me insane. I decided to take a glass nail file and file down the inner corners. Hacky solution, but there was no chance of my using other keycaps at this point.
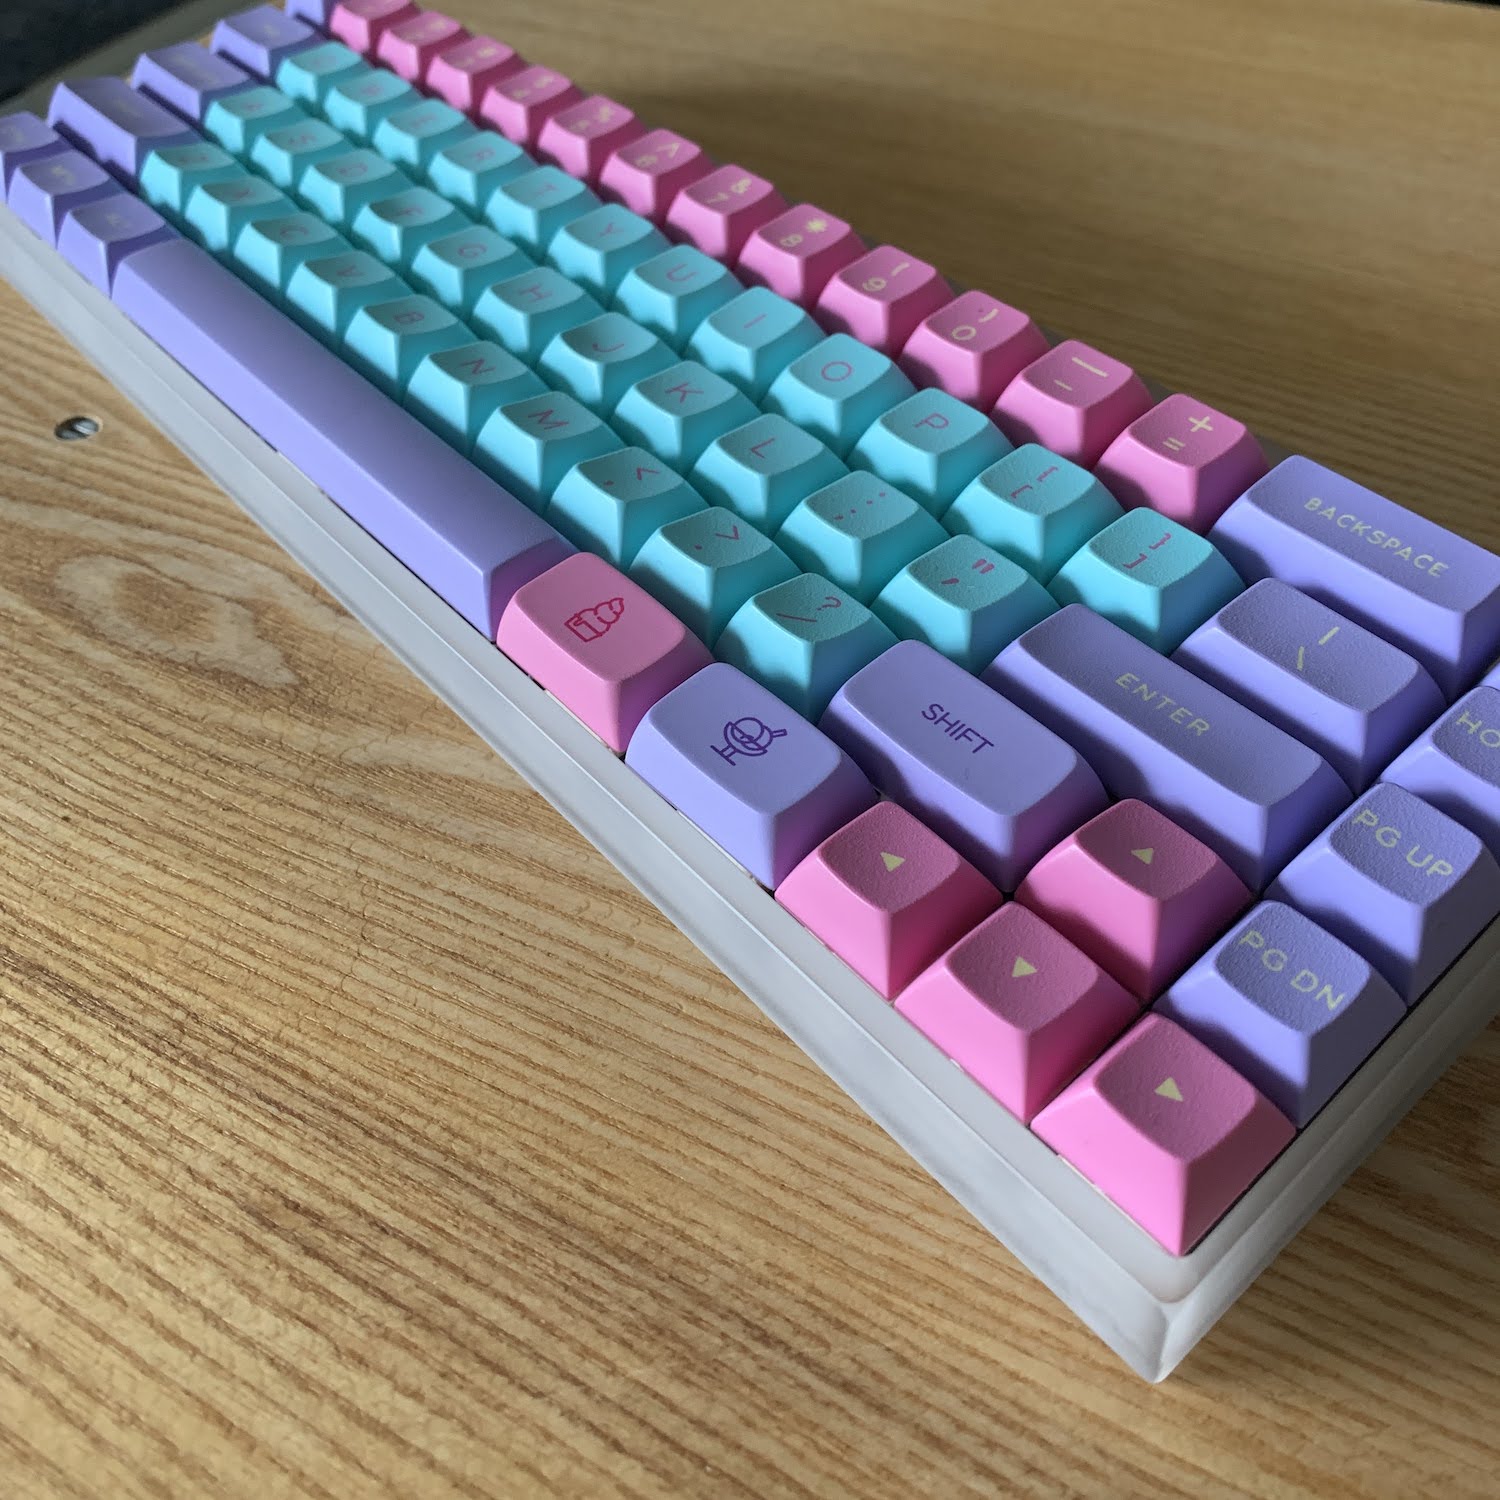
The Final Product #
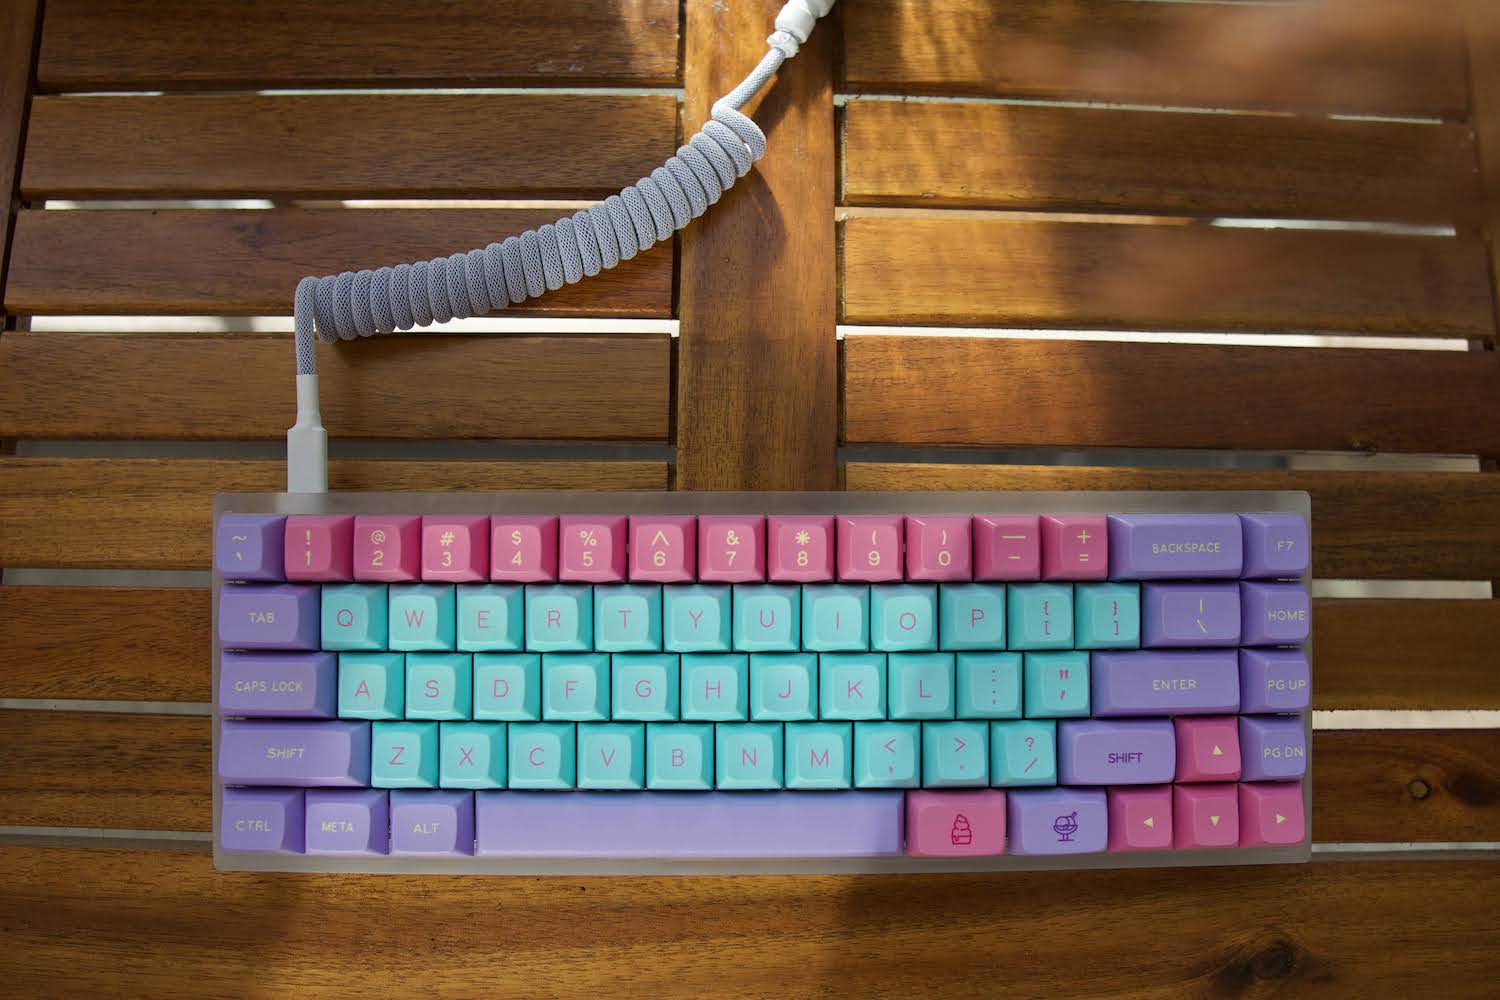
After another few hours of desoldering and resoldering, the keys were super smooth! NovelKey Creams are probably one of my favorite types of switches, and I'm glad I took the risk of using a good switch for my first custom build.
I do realize that my keycaps don't all match, but it's because Norbauer had run out of the nonstandards of the After-School 1992 keycaps, so I had to make do with an ice cream set I had bought from KBDfans in the past. I don't think it ended up looking too shabby though.
This was by far one of the nicest little weekend projects I've done, and it was a welcome change from my typical software projects. If you're thinking about building your first custom keyboard, I highly recommend giving soldering a try. Having said that, if you definitely don't want to solder anything, go for a hotswap PCB instead. Either way, building your own mechanical keyboard is such a rewarding project that I think anyone with an interest in learning about mechanical keyboards would enjoy.
Thanks for reading!